If you do decide to try the freezer paper method for yourself then you might find the following hints useful...
● Purchase pre-cut freezer paper sheets. These are available online from craft websites and cost around a third of the price of Sulky Sticky Fabri Solvy. If you can’t get precut sheets then you could cut a larger piece to size, depending on how temperamental your printer is.
● Cut your fabric a little larger than the freezer paper and iron the wrong side of the fabric to the wax coated side of the freezer paper. Don’t use steam as this will prevent the paper sticking. Your iron should be set to hot and you should hold it in place for ten seconds or so to make sure the wax has adhered to the paper. Pay special attention around the edges, especially the leading edge when you put it in the printer as if the
fabric and paper separate your printer will jam.
● Trim your fabric along the sides of the freezer paper. Make sure there are no little frayed threads sticking out - again this may jam your printer. Iron once more to make sure everything is secure.
● Place in your printer tray with the fabric side ready to be printed - yes, you are going to print directly onto the fabric. You MUST HAVE AN INK JET PRINTER for this to work.
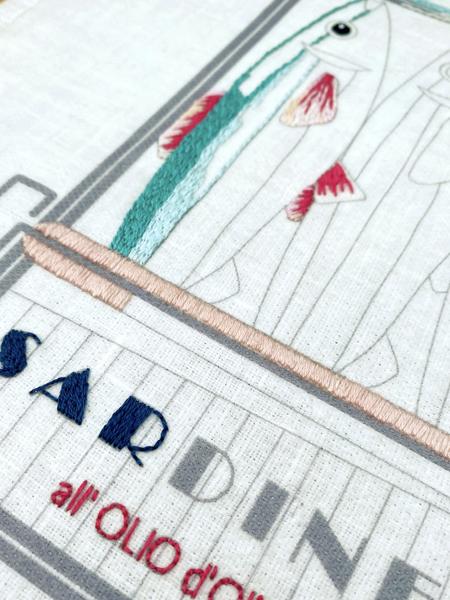
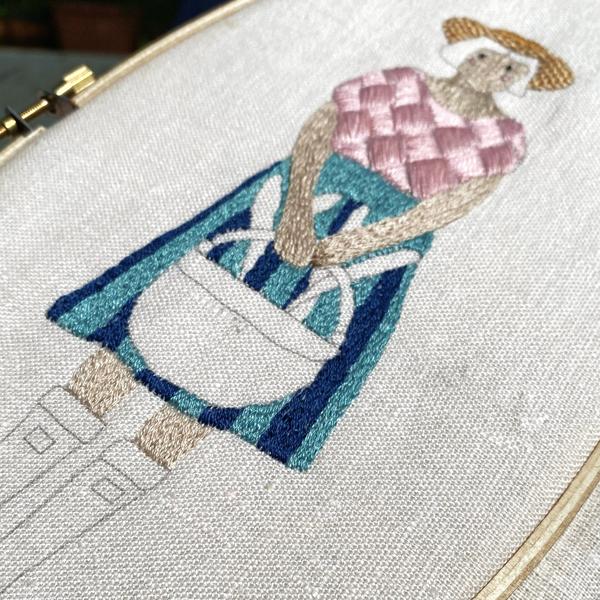
● Once the page is printed, peel away the freezer paper and you are left with a printed pattern to stitch.
There are limitations to this method however.....
● you can only use a fairly lightweight fabric.
● A4 is the limit of the size of design (and surrounding fabric) you can put through the printer,
● the pattern is permanent so you need to be careful when stitching over the lines.
● You must have a fairly tolerant (ie not too temperamental) printer that doesn’t mind taking the
fabric/paper sandwich.